Shower Installation: A Simple Guide for a Quick Bathroom Upgrade
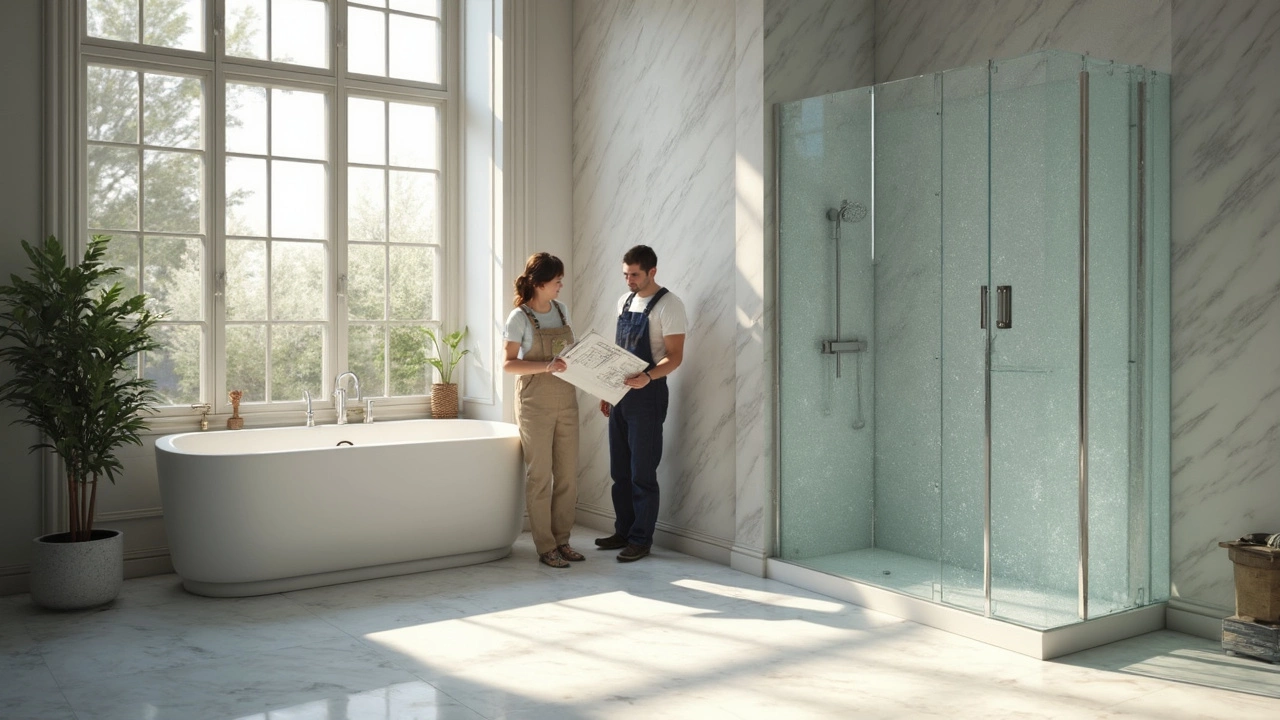
Want a new shower without hiring a crew? You can do it yourself with a little planning and the right tools. This guide walks you through the whole process, from measuring the space to turning on the water. Follow each step and you’ll avoid common headaches.
Preparing Your Space
First, turn off the water at the main valve. Drain any remaining water from the pipes so you don’t get a surprise splash. Measure the width, depth, and height of the area where the shower will go. Write down the numbers and compare them to the dimensions of the pre‑fab shower base you plan to use.
Next, clear out old fixtures, tiles, and the old shower pan. Keep the wall studs and any waterproof backing in place – you’ll need them to secure the new base. Sweep away dust and debris so the new pieces sit on a clean surface.
Installing the Shower Base and Walls
Lay a thin layer of mortar or a ready‑mix shower pan sealant where the base will sit. Press the base into place, making sure it’s level from front to back and side to side. Use a level and adjust with shims if needed. When it’s firmly set, let the sealant cure according to the product instructions.
Now attach the wall panels or tile backer board. If you’re using tile, start with a waterproof membrane (often a sheet called “liquid waterproofing”). Cut the membrane to fit each wall, overlapping seams by a few inches, and seal the edges with the same membrane or a waterproof tape.
Run the new drain pipe connections before you close any walls. Most pre‑fab bases have a drain that snaps onto a PVC pipe. Apply PVC cement, insert the pipe, and tighten the drain flange. Double‑check that the pipe slopes downward toward the main drain – a ¼ inch per foot slope works well.
When the plumbing is set, start tiling the walls. Use a notched trowel to spread thin‑set mortar and press each tile firmly. Keep grout lines even with tile spacers. After the tiles set (usually 24 hours), mix grout and fill the gaps. Wipe away excess with a damp sponge and let it dry.
Seal the corners and any gaps where water could sneak behind the tiles. A silicone caulk designed for bathrooms works best. Apply a smooth bead along the base edge, the corners, and any joint where the wall meets the tub.
Finally, turn the water back on and test the shower. Check for leaks at the drain, around the base, and behind the walls. If you see any drips, tighten connections or reapply sealant as needed. Once everything’s dry and leak‑free, you can add your showerhead, door, and accessories.
That’s it – you’ve installed a shower that looks good and stays watertight. Keep a small bottle of silicone on hand for future touch‑ups, and clean the grout regularly to prevent mold. With these steps, a fresh shower is within reach, even on a budget.

Discovering the True Cost of a Walk-In Shower: What You Need to Know
Considering transforming your bathroom with a walk-in shower? Before you make any decisions, it’s essential to understand the actual costs involved, not just financially but also in terms of time, effort, and impact on your home life. From installation expenses to potential savings, get a clear picture of what’s truly at stake.
Categories
- Storage (30)
- Bathroom (21)
- Sofas (20)
- Curtains (15)
- Home Decor (12)
- Cushions (12)
- Mirrors (12)
- Bedding (11)
- Kitchenware (11)
- Rugs (10)


