Optimal Curtain Rod Overhang: How Far Past the Window Should It Extend

Curtain Rod Overhang Calculator
Recommended Rod Length
Enter window dimensions and curtain style to calculate
| Curtain Style | Typical Overhang | Why It Works |
|---|---|---|
| Grommet / Ring Top | 2–3 in (5–7 cm) | Rings sit close to the fabric, so less pocket needed. |
| Tab Top | 3–4 in (7–10 cm) | Tabs need room to fold without pulling the fabric. |
| Pinch-Pleat | 4 in (10 cm) or more | Pleats require space to gather fully for a rich look. |
| Sheer Panel | 2 in (5 cm) | Light-weight fabric drapes nicely with minimal overhang. |
Quick Takeaways
- Standard overhang: 2-4 inches beyond the window frame.
- Wider windows or decorative curtains benefit from 4‑inch overhang.
- Measure from the wall, not just the frame, for accurate placement.
- Choose rod length based on curtain style (grommet, tab, pinch‑pleat).
- Check for obstacles like furniture or trim before drilling.
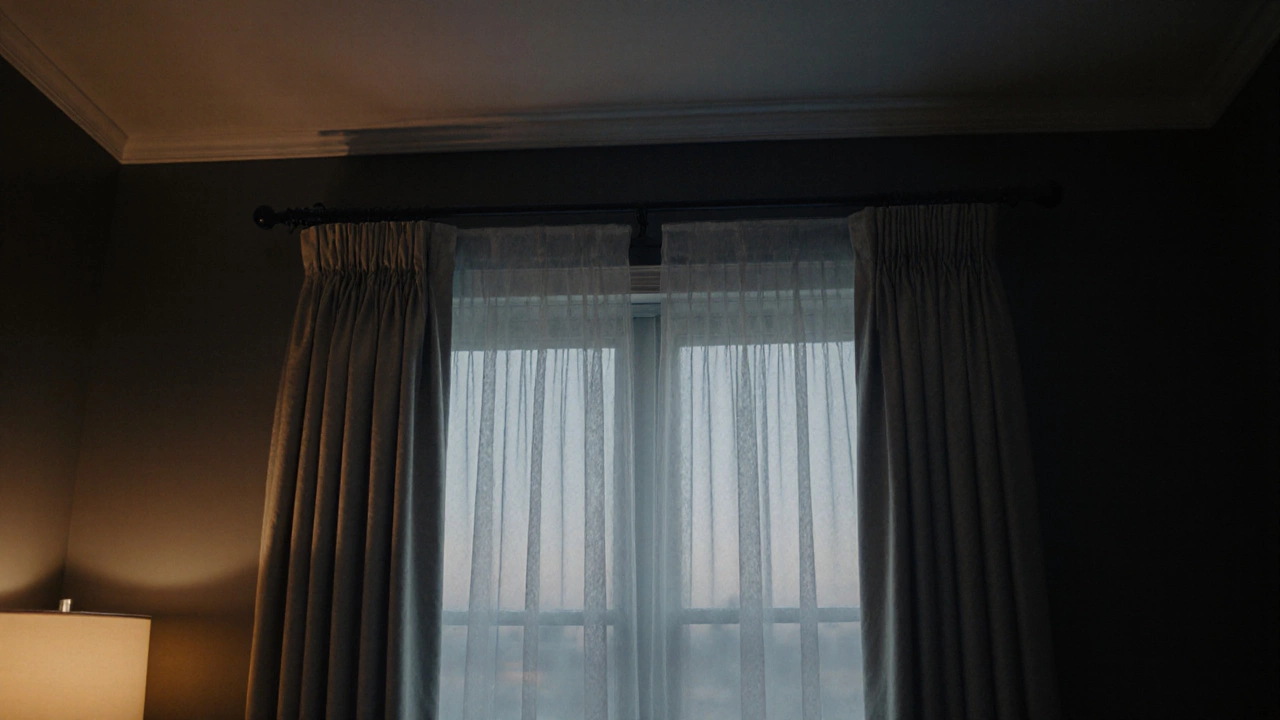
When styling a window, curtain rod is a metal or wooden pole that holds curtains and defines the visual boundary of the window treatment. The big question most people face is: how far should a curtain rod extend past a window? The answer isn’t a one‑size‑fits‑all number; it blends aesthetics, light control, and practical constraints. Below we break down the math, the design reasoning, and the step‑by‑step process you need to get the perfect look every time.
Why Overhang Matters
Window the opening in a wall that admits light and air size, wall depth, and the type of curtain fabric panel that hangs from a rod to cover a window all dictate how much extra rod you need. A few reasons to care about that extra inch or two:
- Visual balance: Extending the rod beyond the frame makes the window appear larger and frames the wall like a picture.
- Light blockage: When the rod sits right on the frame, curtains sit snug against the glass, allowing light to seep around the edges. An overhang creates a shallow pocket that stops stray rays.
- Fullness of fabric: Certain curtain styles (pinch‑pleat, tab top) need space to gather without pulling the fabric off the window.
- Furniture considerations: A rod that projects out too far can clash with a couch or headboard that sits close to the wall.
Standard Guidelines: How Much Is Too Much?
Industry‑wide guidelines settle on a range of 2 to 4 inches (5-10cm) beyond the outer edge of the window frame. Here’s a quick rule‑of‑thumb chart you can keep on the fridge:
| Curtain Style | Typical Overhang | Why It Works |
|---|---|---|
| Grommet / Ring Top | 2-3 in (5-7cm) | Rings sit close to the fabric, so less pocket needed. |
| Tab Top | 3-4 in (7-10cm) | Tabs need room to fold without pulling the fabric. |
| Pinch‑Pleat | 4 in (10cm) or more | Pleats require space to gather fully for a rich look. |
| Sheer Panel | 2 in (5cm) | Light‑weight fabric drapes nicely with minimal overhang. |

Step‑by‑Step: Measuring the Perfect Extension
Now that you know the range, let’s walk through the exact measurement process. Grab a tape measure a flexible measuring tool used for DIY projects and follow these steps:
- Mark the outer edge of the window frame. Use a pencil to draw a faint line on the wall at the left‑most and right‑most points of the frame.
- Decide your overhang. Pick 2, 3, or 4 inches based on the curtain style (refer to the chart above).
- Measure from the wall, not the frame. Place the tape at the wall surface, measure the window width, then add twice your chosen overhang (once for each side).
- Calculate rod length. Rod Length = Window Width + (2 × Overhang). Example: 48‑in window + (2 × 3in) = 54‑in rod.
- Check clearance. Ensure no furniture, crown molding, or heating vents sit within the projected rod length.
- Mark mounting points. Using a level, draw two horizontal lines where the mounting bracket the metal holder that secures the rod to the wall will sit. Keep the brackets at the same distance from the wall as your overhang measurement.
When you finish, you’ll have a rod that sits neat, provides the right amount of light control, and makes the window appear larger.
Choosing the Right Rod Material & Diameter
The material you pick (wood, brushed nickel, matte black) does not change the overhang math, but it influences how the rod looks against the wall the vertical surface that encloses a room. Here are quick tips:
- Heavy curtains: Opt for a sturdier rod (at least 1inch diameter) to prevent sagging.
- Light fabrics: A slimmer rod (½‑¾inch) works fine and looks sleeker.
- Room style: Dark woods pair well with traditional interiors; polished metal fits modern, industrial looks.
Common Pitfalls & How to Avoid Them
Even seasoned DIYers slip up. Spot these mistakes early:
- Too short a rod: Curtains will look cramped and may pull away from the window, letting light in.
- Excessive overhang: A 6‑inch projection can look awkward, especially in narrow rooms, and may clash with adjacent furniture.
- Mounting too high: Placing the rod above the top of the window frame steals visual height from the room. Aim for 4‑6 inches above the frame for a balanced look.
- Ignoring wall thickness: If you have deep trim or a thick plaster wall, add that depth to your overhang calculation.

Special Situations: Bay Windows, Sliding Glass Doors, and Tall Ceilings
Unique openings need tweaks:
- Bay windows: Treat each pane as a separate window, but keep the rod continuous for visual flow. Add 2‑inch overhang on the outermost edges.
- Sliding doors: Use a single rod that spans the full door width and add 3‑inch overhang on each side to hide the track.
- High ceilings: When the rod sits 8‑10 inches above the frame for dramatic effect, increase overhang to 4 inches to keep curtains from looking too tight.
Putting It All Together: A Real‑World Example
Imagine a 42‑inch bedroom window with a classic pinch‑pleat curtain. You want a luxurious look, so you choose a 4‑inch overhang. Here’s the math:
- Window width = 42in.
- Overhang per side = 4in.
- Rod length = 42 + (2×4) = 50in.
- Mount brackets 4in. out from the wall, level them, and screw into studs.
- Hang the pleated curtains; they gather beautifully without pulling the fabric off the pleats.
The result? A window that looks wider, curtains that sit perfectly, and no unwanted midday glare.
Frequently Asked Questions
Can I use the same overhang for all curtain types?
Not really. Grommet curtains work fine with a 2‑inch overhang, while pinch‑pleat curtains usually need at least 4inches. The fabric’s weight and how it gathers dictate the space required.
Should I measure the window frame or the opening?
Measure the actual opening (the glass area) and then add your chosen overhang to each side. Measuring the frame alone can give you a rod that’s too short.
What if my wall has thick trim?
Add the trim thickness to your overhang calculation. For example, a 1‑inch deep crown molding means you’d measure 1inch further out before placing the brackets.
Do I need a longer rod for heavier curtains?
Heavier curtains require a sturdier rod, not necessarily a longer one. Choose a rod with enough diameter (1‑inch or more) and proper support brackets to prevent sag.
Is there a maximum overhang I should never exceed?
A 6‑inch overhang can look disproportionate unless you’re dealing with a very wide window or want an ultra‑modern, floating‑rod effect. Stick to 2‑4inches for most residential settings.


