Do People Line Shelves? When It’s Worth It, Best Materials, and How to Do It Right

Short answer: yes, lots of people line shelves-but not every shelf, and not with the same stuff. The trick is knowing where it actually helps (pantry, bathroom, kids’ drawers), what to skip (sealed melamine in dry spots), and how to install it so it doesn’t buckle, trap moisture, or wreck your surfaces. I’m in Auckland with a kid who raids the snack shelf, so I’ve tested more than a few liners in a humid climate.
- TL;DR: Line shelves that face spills, friction, or moisture. Skip smooth, sealed shelves that stay clean and dry.
- Best places: pantry (oils, crumbs), fridge (non-adhesive only), bathroom/linen cupboard, wardrobes for shoes, rentals (removable types).
- Best materials: non-adhesive EVA or rubber for grip; cork or bamboo for breathability; adhesive vinyl for crafts/backs-avoid on rental paint.
- Costs in NZ (2025): $5-$30 per metre depending on type; you’ll usually need 10-15% extra for offcuts.
- How to: clean, measure, cut with 3-5 mm clearance, dry-fit, then apply from back edge forward, smoothing as you go. Ventilate damp areas.
Should you line shelves? A quick decision guide, pros/cons, and what people actually do
People line shelves for three main reasons: protection (from scratches, stains, and water), easier cleaning, and grip. The places where it makes the biggest difference are the ones that get messy or damp-the pantry, fridge, bathroom, and kids’ drawers. In a dry, sealed cupboard that stores light linens? You can skip it.
Use this simple rule of thumb:
- If the shelf sees liquids, oils, or crumbs weekly (think oils, sauces, spices), lining saves clean-up time and protects the finish.
- If the shelf is in a damp area (bathroom, laundry), choose breathable or perforated liner and keep edges dry to avoid mould.
- If items slide around (glassware, plates, pantry bins), use a grippy, non-adhesive liner.
- If you rent, avoid permanent adhesives. Removable or non-adhesive liners are the safe bet.
- If the surface is sealed melamine or high-gloss painted timber and you rarely get spills, lining is optional.
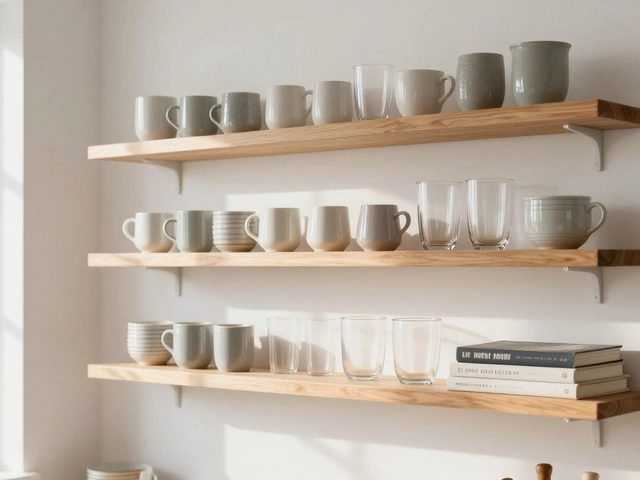
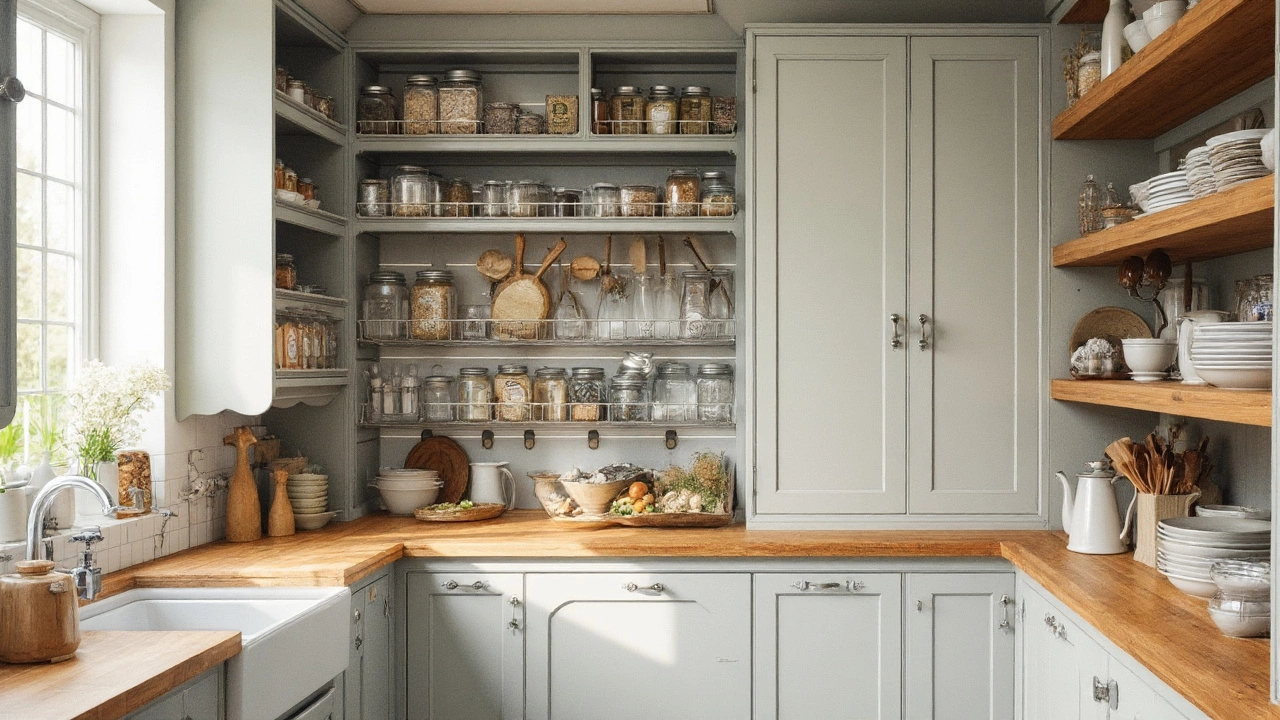
What do most people actually line? Pantries are the winner. Bathrooms, linen cupboards, and kids’ drawers come next. Glass-front cabinets and showpiece shelving are usually left bare, or just the bottoms of shelves get liners that match the look.
Pros of lining:
- Fast clean-ups: wipe the liner instead of sanding or refinishing the shelf.
- Protection: less scratching, chipping, or water staining on timber.
- Grip: plates and jars don’t slide (great for earthquake-prone regions and bouncy kids).
- Noise dampening: cork and rubber reduce clatter.
Cons and pitfalls:
- Moisture traps: airtight plastics can trap condensation in humid rooms if edges aren’t sealed or the space lacks ventilation.
- Adhesive damage: peel-and-stick vinyl can lift paint or leave residue, especially on older lacquer or rental paint.
- Bubbling: a rush job traps air or dust; heat and humidity make bubbles more obvious.
- Waste: offcuts can be annoying-measure carefully to buy only what you need.
On hygiene: Food Standards Australia New Zealand (FSANZ) and the CDC both push regular cleaning and dry storage for food areas. Lining doesn’t replace cleaning, but it can make cleaning faster and more thorough. Smooth, non-porous liners wipe down better than raw timber.
Personal note from Auckland: humidity swings plus steamy bathrooms can turn a tight plastic liner into a moisture trap if you run it wall-to-wall. I leave a 3-5 mm gap or use breathable materials like cork in closed cupboards, and I crack the door after hot showers. My pantry shelves get grippy, washable liners so Ivy’s snack bins don’t slide.
| Liner type | Best for | Pros | Cons | Typical NZ cost (per metre) | Lifespan* | Removal ease |
|---|---|---|---|---|---|---|
| Non-adhesive EVA/rubber mat | Pantry, drawers, glassware shelves | Grippy, washable, easy to cut, reusable | Can trap crumbs in texture, may curl at corners | $8-$15 | 2-4 years | Very easy |
| Adhesive vinyl (contact paper) | Backs of cabinets, feature looks, crafts | Sleek look, spill-proof, cheap | Residue risk, bubbles, can lift paint | $5-$12 | 2-5 years | Moderate-hard |
| Cork roll | Timber shelves, linens, glassware | Breathable, noise-dampening, gentle on finishes | Stains with oil, needs sealing in kitchens | $12-$25 | 2-3 years | Easy |
| Bamboo liner/sheet | Wardrobes, shoe shelves, pantry fronts | Natural look, breathable, durable | Higher cost, needs precise cutting | $18-$30 | 3-5 years | Easy |
| Perforated plastic (fridge-safe) | Fridges, under produce bins | Lets air flow, easy to wash, non-adhesive | Not grippy for jars, can stain with turmeric | $6-$12 (per sheet) | 1-3 years | Very easy |
| Rigid acrylic/wire shelf covers | Wire shelves (pantry, closets) | Stops tipping, wipe-clean, durable | Higher upfront cost, needs exact fit | $15-$30 (per piece) | 4-7 years | Easy |
| Fabric liners (washable) | Delicates, baby clothes, craft drawers | Soft, washable, pretty | Not waterproof, can hold odours | $10-$20 | 1-2 years | Very easy |
*Lifespan assumes normal household use and regular cleaning in a temperate climate.
How to line shelves (properly): tools, steps, sizing formulas, and cost math
Whether you’re lining a pantry or a bathroom cabinet, the process is the same. The big differences are material choice and edge treatment.
Tools and supplies checklist:
- Chosen liner (buy 10-15% extra for offcuts)
- Measuring tape and pencil
- Sharp scissors or craft knife + cutting mat
- Metal ruler or straight edge
- Microfibre cloth and mild cleaner (warm soapy water is fine)
- Optional: squeegee or an old bank card (for adhesive liners)
- Optional: painter’s tape (to hold non-adhesive liners while you cut)
Quick sizing formulas that save you re-cuts:
- Width: shelf width minus 3-5 mm for easy drop-in fit (humidity makes things swell).
- Depth: shelf depth minus 3-5 mm so the front edge doesn’t catch when you slide things in/out.
- If the back has an upstand (lip), subtract its height from your depth so the liner sits flat.
- Curved corners? Trace with paper, cut the paper first, then use that as a template.
Step-by-step:
- Clear and clean. Empty the shelf. Wipe with warm, soapy water. Rinse and dry fully. In kitchens, degrease lightly if oils are present.
- Measure. Measure the interior width and depth at the front and back (old cabinets aren’t always square). Use the smallest numbers.
- Mark and cut. Transfer measurements to the liner. Cut clean, straight edges using a metal ruler. Dry-fit the piece. Adjust if it’s snug.
- Place non-adhesive liners. Drop in from the back edge and smooth forward. If it curls, reverse-roll the piece for 5-10 minutes first.
- Apply adhesive liners. Peel 5-8 cm of backing to start. Align along the back edge. Smooth forward with a squeegee, peeling more backing as you go. Lift and re-lay if bubbles appear instead of stretching the vinyl.
- Finish edges. For splash zones, you can run a thin bead of clear, removable caulk along the back edge only (not sides) to stop seepage, leaving side gaps for ventilation.
- Load thoughtfully. Put heavier items near the edges and supports, not in the center span of flimsy shelves. Use bins in pantries so crumbs stay contained.
Cost planning (NZ, 2025):
- A small pantry (4 shelves, 80 × 35 cm) needs ~1.2-1.6 m of 45-50 cm wide roll. Budget $10-$40 depending on material.
- A bathroom vanity (2 shelves, 60 × 30 cm) needs ~0.6-0.8 m. Budget $6-$25.
- A wardrobe shoe shelf (90 × 30 cm) needs ~0.9 m for three shelves. Budget $8-$45 based on material.
Cleaning and care:
- Wipe monthly in the pantry (more often if you spill oils). Warm soapy water does the job.
- Air damp cupboards by leaving doors ajar after showers. Replace liners that smell musty.
- For adhesive residues, use a hairdryer on low to warm the area, then roll off residue with your thumb. Test citrus-based removers on a hidden spot first.
Safety notes worth keeping in mind:
- Food contact: choose non-toxic, food-safe plastics for direct food contact (fridges and produce drawers). Avoid adhesives inside fridges-cold temps weaken adhesive and can off-gas.
- Heat: don’t use liners near hobs or toaster ovens. Vinyl can deform with heat.
- Tenancy: if you rent, stick with removable, non-adhesive liners to avoid bond disputes. When in doubt, test on the underside of a hidden shelf.
When to skip lining entirely:
- Pristine, sealed melamine shelves that only hold light, clean items (books, decor).
- Antique timber shelves with delicate finishes-use felt coasters under items instead.
- Open shelves right next to a cooktop (grease + heat = maintenance headache). It’s better to wipe wood directly and oil it seasonally.

Real-life use cases, quick checklists, FAQs, and fixes for common problems
Examples that match everyday life:
- Pantry with oils and sauces: Non-adhesive EVA or rubber. Easy to wipe, adds grip for jars. Replace every 2-3 years when edges curl.
- Fridge shelves: Perforated, food-safe plastic mats. Cut to fit but leave vents uncovered. Remove and wash in warm soapy water monthly.
- Bathroom vanity: Cork or bamboo for breathability. Seal cork near the sink splash zone or leave a small rear gap for drying.
- Kids’ drawers (socks, undies): Soft fabric liners or thin cork stop sliding piles and reduce snagging.
- Wire pantry shelves: Rigid acrylic covers or dense EVA cut to size so small jars don’t tip or fall through gaps.
- Shoe shelves: Bamboo or cork to breathe and control odour. Add a tiny sachet of baking soda at the back.
Fast checklists you can copy:
Material picker (choose one per area):
- Pantry: EVA/rubber (grip) or cork (quiet, breathable)
- Fridge: perforated, food-safe plastic (non-adhesive)
- Bathroom: cork or bamboo (avoid full-edge sealing; keep ventilation)
- Wardrobe/shoes: bamboo, cork, or washable fabric
- Rentals: non-adhesive EVA/rubber; avoid contact paper on painted shelves
- Feature look (backs, not bases): adhesive vinyl/contact paper
Measurement cheatsheet:
- Leave 3-5 mm clearance on each dimension.
- Buy 10-15% extra material for trimming errors and corners.
- Label each cut as you go (e.g., “Pantry 1 Top Left”). It saves re-measuring.
Common mistakes to avoid:
- Sealing every edge airtight in damp rooms-this traps moisture.
- Using adhesive vinyl on chalky or semi-gloss paint-it will lift when removed.
- Cutting too tight-humidity in Auckland can swell materials and cause buckling.
- Skipping a degrease step in the pantry-liners won’t sit flat on oily wood.
Mini-FAQ
- Is lining shelves out of fashion? Not really. Foam grip liners and cork aren’t flashy, but they’re quiet workhorses. Adhesive patterns go in and out of style-use those on cabinet backs if you want the look without the maintenance.
- Do I need antimicrobial liners? Nice to have, not essential. Regular cleaning does more. If you like the feature and the price is right, go for it.
- How often should I replace liners? When they curl, stain, smell musty, or lose grip. In kitchens, that’s usually 2-4 years depending on quality and cleaning habits.
- Can liners attract pests? No-crumbs do. Use bins and do quick monthly wipes. FSANZ’s hygiene advice boils down to keeping areas clean and dry, which liners make easier.
- Will contact paper ruin my shelves? It can lift paint or leave residue on older finishes. Warm with a hairdryer to remove, and always test first. Renters: pick non-adhesive types.
- What’s best for rental properties? Non-adhesive EVA or cork. Easy in, easy out, no stress at bond time.
- Can I use liners in the fridge? Yes, but use non-adhesive, food-safe plastic. Avoid lining over vents. Wash them regularly.
Troubleshooting common issues
- Bubbling (adhesive vinyl): Lift back to the bubble and re-lay while smoothing. For tiny bubbles, use a pinprick and smooth air out. Work from the center out in small sections.
- Edges lifting (non-adhesive): Reverse-roll to flatten, then reinstall. If corners still pop, trim 1-2 mm off the side. In deep drawers, a tiny dot of removable mounting putty in the corners can help.
- Moisture under liner: Remove, dry the shelf fully, and switch to a breathable material or leave a 3-5 mm ventilation gap on each side. Improve airflow by spacing items.
- Residue after removal: Warm with a hairdryer and rub off. If needed, try a citrus-based remover on a cotton pad-test on a hidden spot first.
- Odour from new liners: Unroll and off-gas in a ventilated space for 24-48 hours before installing. Wash with mild soap if safe for the material.
Who should definitely line shelves?
- Busy family kitchens where spills happen (hands up, parents).
- Pantries with raw timber or older finishes you want to protect.
- Humidity-prone bathrooms where you need protection but also airflow.
- Wire shelving systems that make jars wobble.
Who can skip?
- Minimalist spaces with mainly decor items and controlled dust.
- High-quality melamine cupboards used for light storage only.
Quick scenario guide
- New build with melamine shelves: Skip or use minimal grippy strips only where glassware sits.
- Character home with timber shelves: Use cork or bamboo to protect and breathe. Seal just the rear splash zone in kitchens.
- Small rental kitchen: Use non-adhesive EVA sheets you can lift out to wash. Cut carefully so you can take them with you.
- Student flat on a budget: Cheapest fix is non-adhesive foam rolls. Prioritise the dirtiest shelves only.
Pro tips I’ve learned the hard way:
- Label the underside with painter’s tape so you can put each piece back after washing.
- Store leftover offcuts flat in a large envelope-they’re perfect for narrow spice shelves.
- If the liner keeps sliding when you pull bins, add a thin silicone bead at the very back to act as a stop (removable later).
If you want a one-and-done answer: most households benefit from lining the few shelves that take a beating and leaving the rest bare. Start with the pantry and the bathroom vanity. Choose quality non-adhesive material first; reach for adhesive vinyl only when you want a design statement or a sealed, wipe-clean surface on a stable finish. That balance gives you cleaner cupboards, fewer scratches, and less stress.
One last thing: materials matter more than hype. Buy the right type for the right spot, and you’ll forget you even installed them-until you lift them out on cleaning day and feel smug about how easy it is. That’s the real magic of shelf liners.